








Why Your Dash Cam Should Be Fitted Before Your First Solo Drive
UK car insurance premiums jumped 33% in 2024, with the average policy now costing £622. For new drivers paying even more than that average, a dash cam is the simplest way to protect your No-Claims Bonus, which can be worth 70% or more off future premiums. Without video evidence, a disputed claim can wipe that bonus overnight.
The financial threat is real and growing. UK insurers detected £576 million in fraudulent motor insurance claims in 2024, and staged "crash for cash" scams disproportionately target inexperienced drivers who are less likely to challenge a false account. Nearly 30,000 people were killed or seriously injured on UK roads in 2025. Video evidence protects you legally from the very first time you pull away.
Over 9 million UK drivers already have a dash cam fitted, and the entire setup takes under 30 minutes with zero tools for a standard plug-and-play install. This guide walks you through every step.
What's in the Box and What You'll Need Before You Start
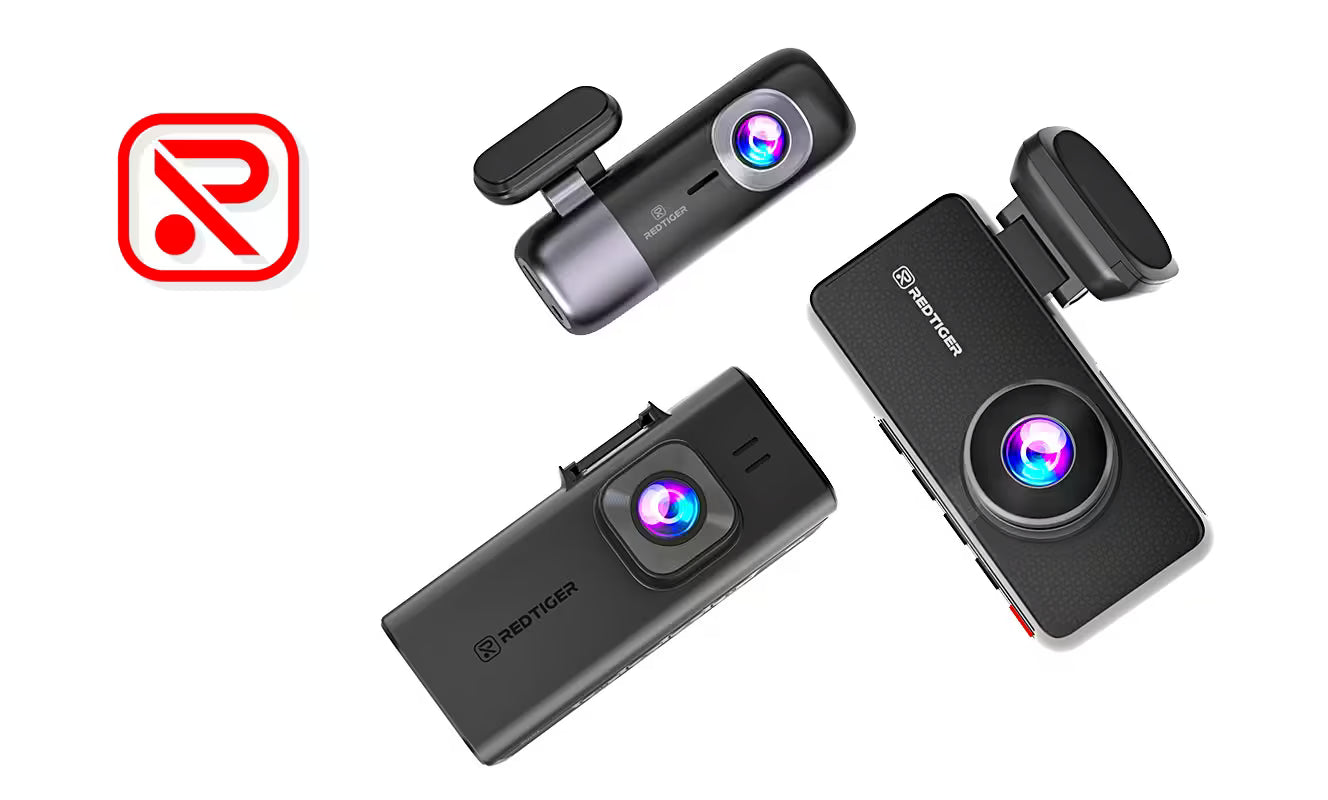
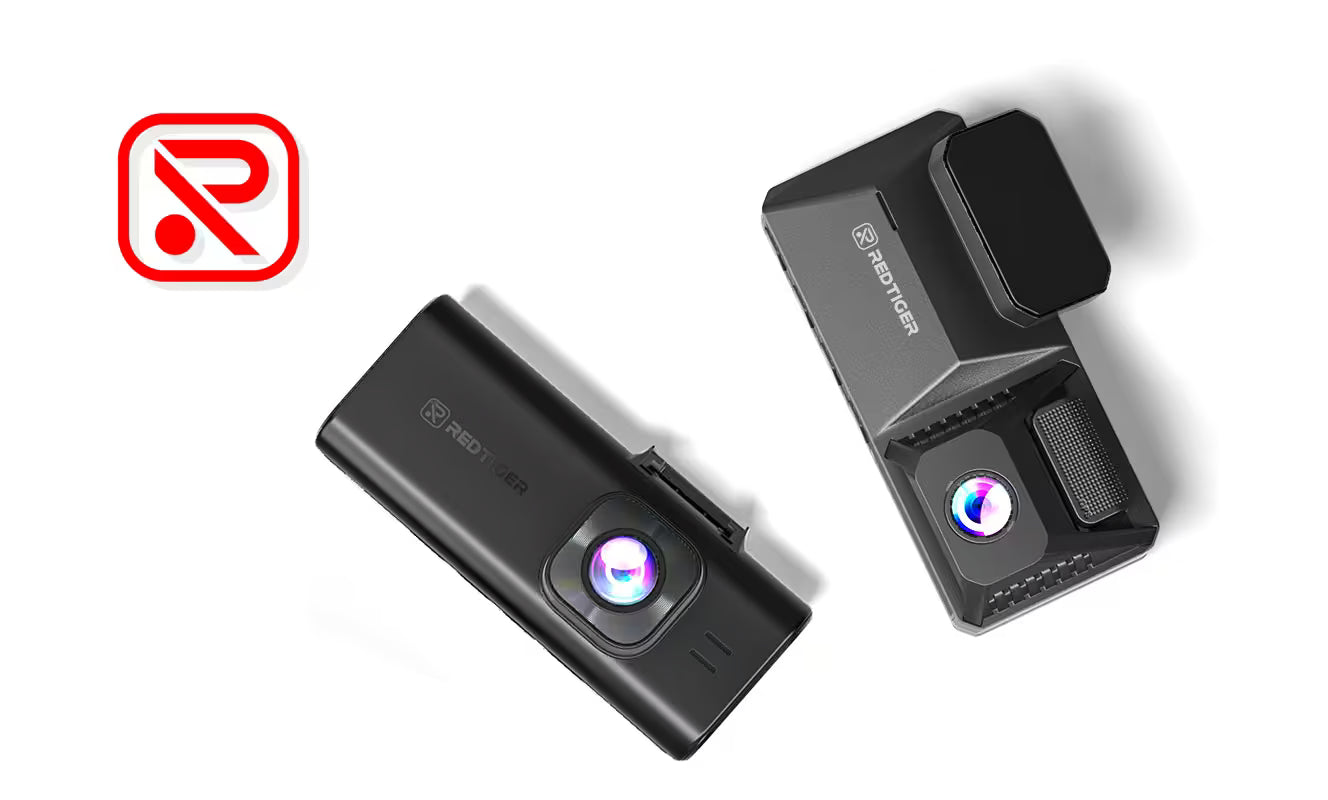
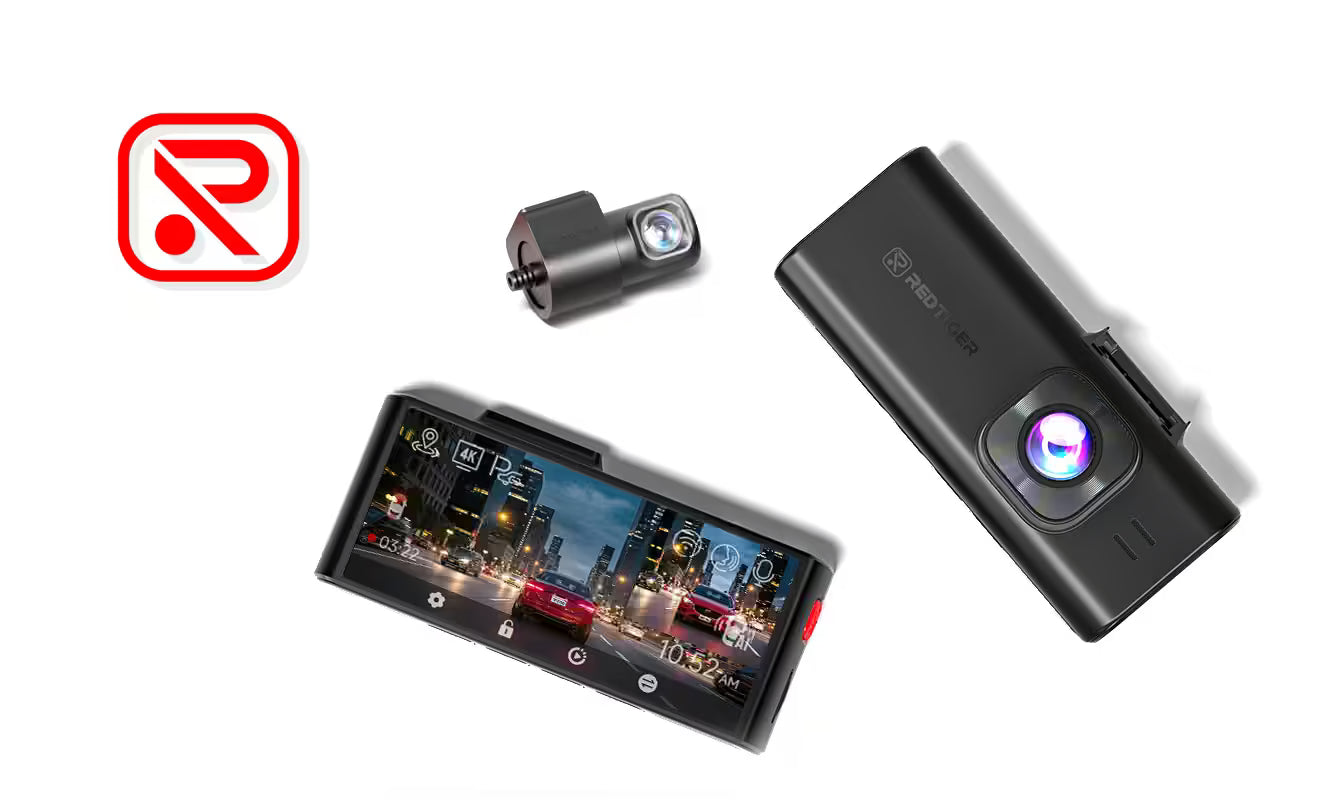
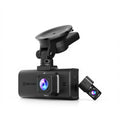
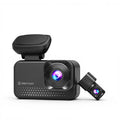
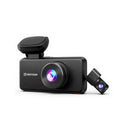
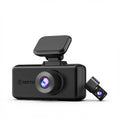
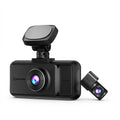
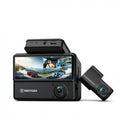
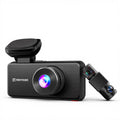
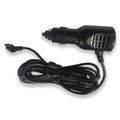
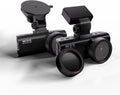
A standard dash cam kit includes the camera unit, a suction-cup or adhesive mount, a 12V cigarette lighter power cable, a quick-start guide, and (for front-and-rear kits) a rear camera with its connecting cable. That covers the essentials, but there is one critical item you will need to supply yourself.
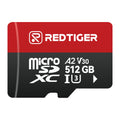
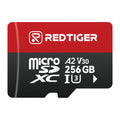
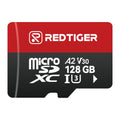
Buy a high-endurance microSD card (128GB or 256GB, rated U3/V30). Do not use a regular SD card. Standard cards are not built for the continuous write cycles a dash cam demands and will fail quickly. High-endurance cards are rated for temperatures from -25°C to 85°C and endure up to 10 times more write cycles. UK car interiors can reach 70°C in summer, so this is not optional. Also note that cards above 256GB may not be supported; check your model's spec sheet before purchasing.
Before heading to the car, download your dash cam's companion app to your smartphone. This saves valuable time during setup. A trim removal tool or even a credit card is also handy for tucking cables neatly into the windscreen trim.
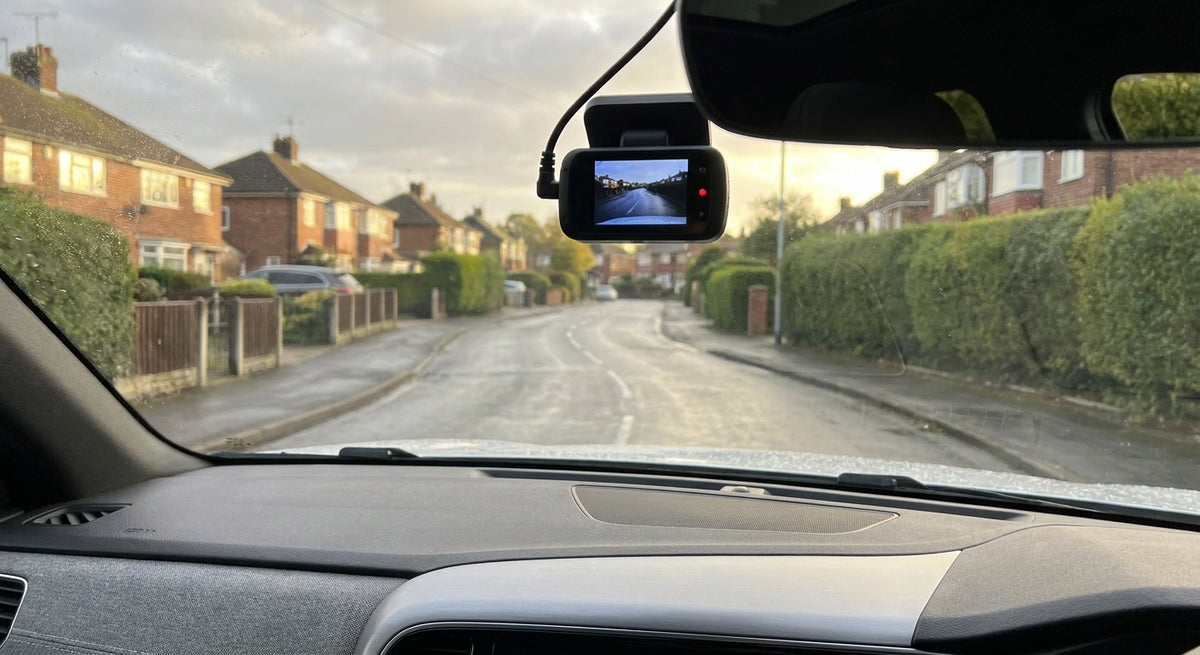
Step 1: Legal Mounting — Where to Position Your Dash Cam on the Windscreen
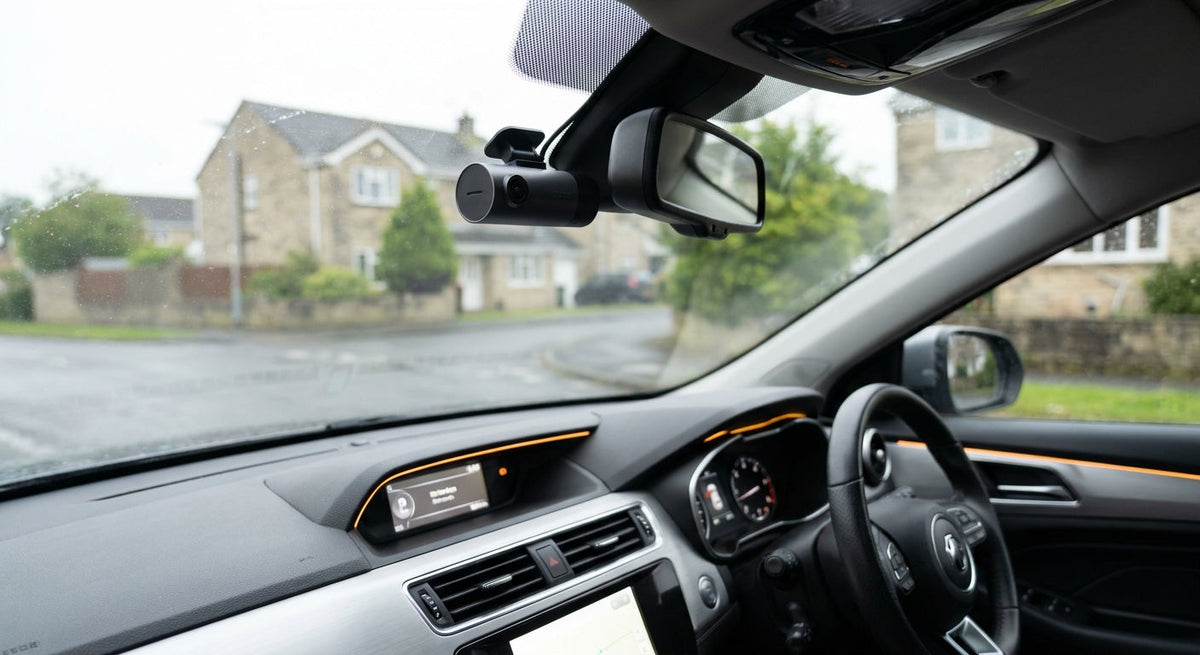
Getting this right matters more than any other step. Under UK law, your dash cam must be mounted directly behind the rear-view mirror, centred on the windscreen. The camera must not protrude more than 40mm into the wiper-swept area of the windscreen, as specified by the Road Vehicles (Construction and Use) Regulations 1986.
Here is a quick self-check: sit in the driver's seat normally. If you can see the camera clearly without looking for it, it is obstructing your view and needs to be repositioned. Incorrect placement can cause an MOT failure under the "view of the road" category and result in a £100 fine plus 3 penalty points.
More critically, footage from an illegally placed camera may be ruled inadmissible as evidence, which defeats the entire purpose of having one.
Before attaching the mount, clean the windscreen patch with the alcohol wipe included in your kit. This ensures a secure bond that will not drop off in summer heat. For front-and-rear setups, mount the rear camera on the rear windscreen, centred and as high as possible. Route the cable along the headliner and down the door pillar trim for a tidy finish.
Step 2: SD Card Formatting — The Step Most Beginners Skip
Insert the microSD card into the dash cam's card slot before powering the camera on. This is important: format the card inside the dash cam itself, using the camera's menu (Settings > Format SD Card). Never format it on a PC or phone first.
Formatting on a computer creates a file system that is incompatible with the camera's loop-recording process. This causes recording errors or, worse, silent failures where the camera appears to be working but captures nothing. You would only discover this after an incident, when it is too late.
Loop recording works simply: once the card is full, the camera automatically overwrites the oldest footage. Correct formatting ensures this cycle runs reliably. On a 128GB card recording at 4K resolution, expect roughly 4 to 6 hours of footage before the oldest clips begin to be replaced.
Format the card every 2 to 4 weeks to maintain recording reliability. Set a recurring phone reminder now so you do not forget.
Step 3: Power, Settings, and Date/Time Configuration
Route the 12V cigarette lighter cable along the top of the windscreen trim and down the A-pillar. Tuck it firmly using a credit card or trim tool. This gives you a clean, wire-free look and takes under 5 minutes.
Plug in and power on. The camera should boot automatically when the ignition is turned on.
Your first and most critical setting: set the correct date, time, and time zone immediately. Footage without an accurate timestamp may be inadmissible in UK court proceedings and will be rejected by the National Dash Cam Safety Portal (Operation Snap). Do not skip this.
Enable GPS logging if your model supports it. GPS records your speed and location alongside the video, which is essential for insurance disputes and legal submissions. Next, set video resolution to the highest available. 4K resolution is now preferred in UK courts because it allows clear number plate identification at 30 yards, even in low light on unlit roads.
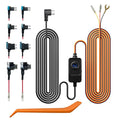
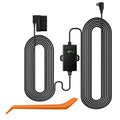
Enable loop recording and review your parking mode settings. Note that parking mode requires a hardwire kit connected to your car's fuse box for 24/7 operation. The standard cigarette lighter cable only records when the ignition is on.
Finally, check your G-sensor (impact detection) sensitivity. Set it to medium for daily driving. This prevents false triggers on speed bumps while still locking footage automatically during a genuine impact.
Step 4: Pairing the App and Verifying Your Setup via Wi-Fi
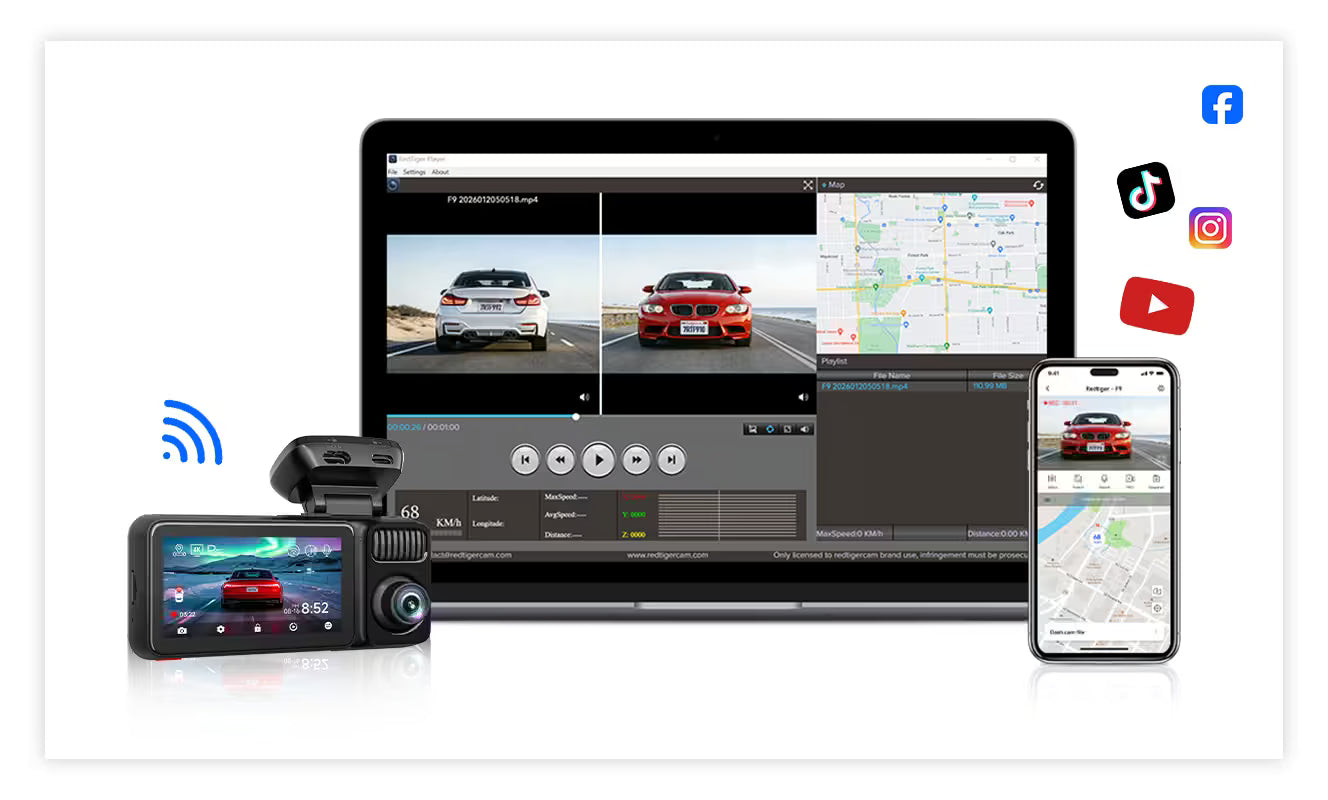
Open the manufacturer's app on your phone and connect via the dash cam's built-in Wi-Fi. On models equipped with 5.8 GHz Wi-Fi 6, the connection is fast enough to preview footage in seconds without removing the SD card.
Use the app's live view to confirm the camera angle covers the full road ahead. Adjust the mount angle now, before you drive. Check that the GPS icon is active and the timestamp is displaying correctly in the live view. If either is missing, revisit Step 3 before your first journey.
For front-and-rear setups, verify the rear camera feed is visible in the app and that the rear lens is angled to capture the road behind, not the parcel shelf.
The app also lets you adjust exposure, brightness, and audio recording settings without touching the camera. This is particularly useful for first-time users who want to fine-tune settings from the driver's seat rather than fiddling with small buttons on the unit itself. Confirm loop recording is active and the SD card capacity is showing correctly in the app dashboard.
Your First Recorded Journey: What to Do and What to Check Afterwards
Before pulling away, confirm the camera's recording indicator light is active. Most cameras show a solid or blinking red or blue LED when recording.
Drive a short 10 to 15 minute test route that includes a mix of conditions: a residential street, a main road, and ideally one roundabout. This gives you a good sample of different lighting and speed scenarios.
After returning, open the app and review your first clip. Check that the image is sharp, the timestamp is accurate, the GPS track matches your route, and audio is recording if you have enabled it. Confirm loop recording has engaged correctly; the app should show multiple short clips (typically 1, 3, or 5 minutes each) rather than one continuous file.
If your test drive included any low-light sections, check the night vision quality. 4K cameras with Sony STARVIS 2 sensors should deliver clear, colour-accurate footage even on unlit roads. If footage looks washed out or overexposed, adjust the exposure compensation setting in the app. This is a common first-time issue on bright days.
A note for black box or telematics insurance holders: your dash cam does not interfere with your telematics device. Disclose it to your insurer at renewal. Some insurers offer an additional discount of 10% to 25% for verified dash cam use, and 75% of UK motorists who used dash cam footage successfully resolved insurance disputes. With video evidence, average claim settlement time can drop from 180 days to just 14 days.
UK Legal Essentials Every New Driver Should Know
Dash cams are fully legal in the UK. No licence, DVLA registration, or special permit is required for private drivers.
The National Dash Cam Safety Portal (Operation Snap) accepts footage from 35 UK police forces and processed over 50,000 uploads in the past year. To be accepted, your footage must be unedited and carry an accurate timestamp.
The Data (Use and Access) Act 2025, which received Royal Assent in June 2025, introduced a "recognised legitimate interests" lawful ground for data processing. This is particularly relevant for rideshare and taxi drivers who regularly handle and share footage, but all drivers should be aware of their responsibilities when storing recordings that capture other people.
Never delete footage relevant to an incident. Deliberately destroying evidence can constitute perverting the course of justice, a serious criminal offence. If police request your footage, you are legally obliged to cooperate. Refusing can result in criminal charges.
You're Set Up — Here's What to Do Next
Format your SD card every 2 to 4 weeks and check the mount is secure each month. This takes under 2 minutes and keeps your system reliable.
If you want 24/7 parking protection, consider a professional hardwire kit installation. With 1.2 million UK vehicles reporting parked damage last year, this is a worthwhile upgrade. Professional hardwiring typically costs £50 to £100 and connects the camera to your fuse box for round-the-clock recording.
Disclose your dash cam to your insurer at renewal. Forty-one UK insurers accept dash cam footage, and some offer 10% to 25% premium discounts for verified models. Keep a note of your dash cam model and serial number in case you need to submit footage to Operation Snap or your insurance provider.
Redtiger's 2-year warranty (extendable to 2.5 years when purchased from the official site) and 30-day money-back guarantee mean your investment is protected. With 24/7 customer support and the trust of 1.7 million drivers worldwide, including Amazon UK's #1 Best-Selling Dash Cam status, help is always available if you run into any setup questions.
You are now one of over 9 million UK drivers with a dash cam fitted: recording, protected, and ready for whatever the road brings.

Leave a comment
This site is protected by hCaptcha and the hCaptcha Privacy Policy and Terms of Service apply.